Written by Alexia Tsotsis
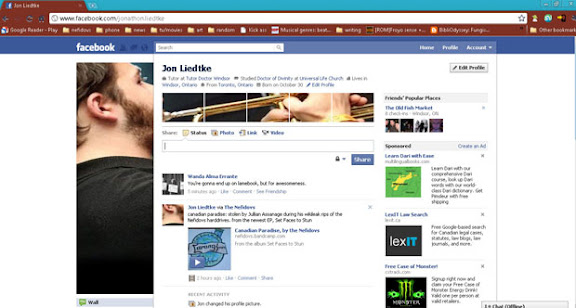
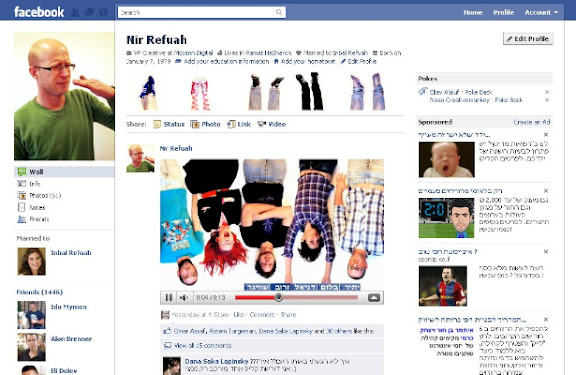
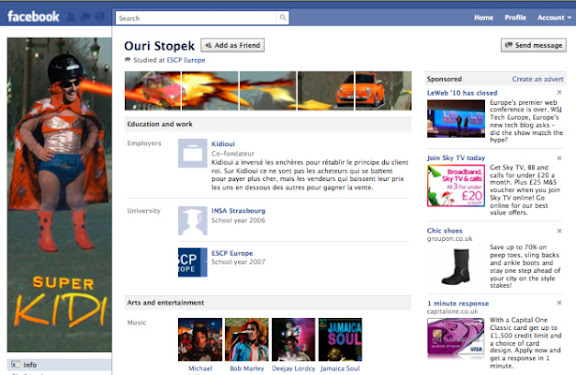
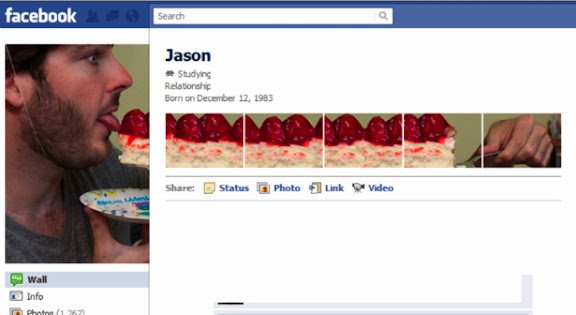
Since French artist Alexandre Oudin took advantage of the new Facebook design to express himself, we’ve been seeing some creative ways to mess with your (and your friends’) profile pictures. As we predicted, Oudin’s hack has inspired other users to play around with their profile to pretty interesting effect. And for those of you that don’t want to trial and error around with the 532 px by 180 px and 97 by 68 px image limitations, photographer Florian Stravock has made the above Photoshop tutorial to help you perfectly execute on your super profile pic. Abridged steps, below:
1) Take a screenshot of your current Facebook page.
2) Create a new Photoshop doc.
3) Grab the Slice tool (same family as the Crop tool) and select around the pictures.
4) With the Marquee tool, select around the sliced areas.
5) Bring the image that you want on Facebook into Photoshop and position it roughly the way you want it.
6) Drag the image layer under the Facebook layer and refine your positioning.
7) Go to “File,” select “Save for web and devices,” select all your document area, click “Jpeg, set the quality to 100% and save. Under slices select “All user slices.”
8) Upload your pictures to Facebook and tag them from last to first. When you get to the first picture click “Make this my profile picture.”
You can download Stravock’s Photoshop document here. Don’t have Photoshop or too lazy to sit through a tutorial? TechCrunch reader Trevor Farbo has created a profile picture generator that allows you to get the same effect in half the time.
Check out more reader customizations here and upload your own works of Internet art in the comments.


Bonus:10 Creative Uses of the New Facebook Profile


"
No comments:
Post a Comment